
On to the next thing.
Actually just another distraction to keep me away from other things.
 Mini Me found these Italeri World of Tanks edition kits at the hobby shop. He got a Sherman and painted it up in a winter white wash. He wanted me to get one too, so I did. Twist my arm!!
 Besides I have another project planned down the line and this would give me an opportunity to practice some things.
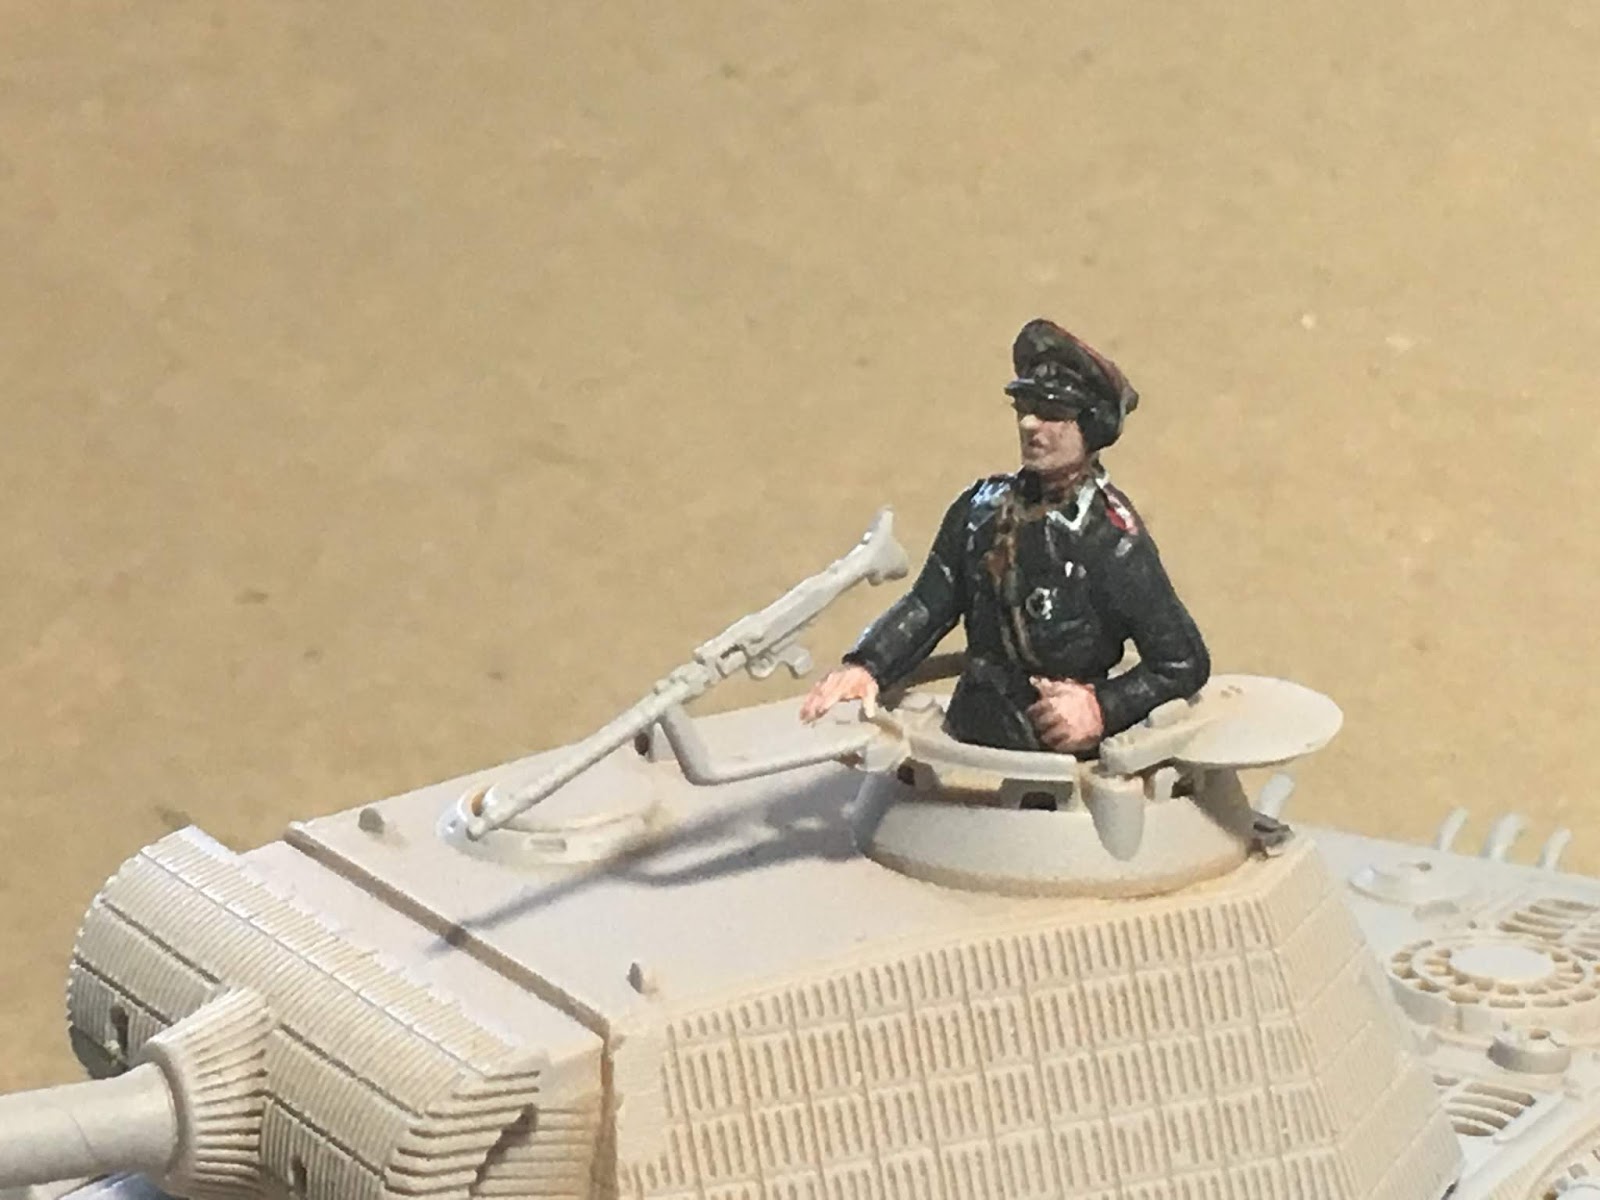
 It's a pretty cool kit for 1/56. Not too much detail but it will work for me. The decals are all WOT themed and I think I'll save them for something else. I did like the way the tracks are in two pieces and all the wheels are one piece to make things simple.
Actually just another distraction to keep me away from other things.


So after watching a video for liquid masking I thought I would give it a shot.
Got my colors.....

Put the base coat on.....

 |
| Yellow |


Green
 |
| Red |
Peel off the mask....
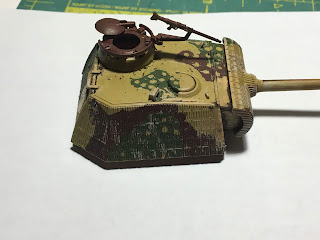

That looks like crap. Time to strip it down and try something else. Hey! The reference page I had turns out to be the same scale as the model!!!

What if I just cut out the patterns on the picture to use as a mask? Well after cutting out the yellow and seeing how that was going to work (it wasn't going to) I scrapped the whole idea and let's do freehand!!!!
That's next in part 2.


