This week I finished up my Stug III G company main pieces. Still have the support vehicles to do. Someone asked for a tutorial after looking at my Panthers and T-34s, so here's a basic step by step.
Here they are set up and primed and ready to go.
I tried the recommended gluing them to nails and it works really, really well. I can turn them any which way and never really touch the models until I'm taking them off the nails. The hard part is getting the nails to stand up straight so the models are level. Tacky glue is thick enough to hold them up but for me it's a little difficult to peel it all out when I'm done. I'm always a little scared I'm going to ruin the paint by gripping the model too tight. I think I'll try regular white glue next time - maybe.
First off is the base coat. I start with the lightest color first. I'm going with a three color camo scheme on these by-the-way. So here is the basic desert yellow base. It goes on as a good solid coat to make sure all the surfaces are covered and no metal or primer is showing through.
Next is the next darker color, in this case a camouflage green.
This is not going to be a strict historical company so I know that the actual scheme and later the detail placement is not going to be EXACTLY correct, but I did a little internet research to find something I liked and thought I could pull off. Unfortunately most of the actual photographic history out there is black and white (since the world was black and white then...well pretty grainy color at least...
http://calvin-and-hobbes-comic-strips.blogspot.com/2011/11/calvin-asks-dad-about-old-black-and.html ).
The green and next the earth brown I thin down more so than usual. It's not so watery that it runs into cracks and what not, but it is thin enough that it is semi transparent. I'll explain why in a bit.
Here's the brown color added.
Now that the basic colors are on, I use Game Color Smoke. It's really a dark brown, dirty wash. You could mix up something similar using dark brown, black and future floor wax to make a magic wash that would work just as well.
I put this on really thick. Slop it on. Make sure it fills in the cracks and all the crevices. I do keep it thin over the flat surfaces so it doesn't cover up the actual base coat.
Putting it on thick can also simulate mud and grime in the tracks as you can see below.
Now I go back and "dry brush" on the basic colors again. Everywhere except the tracks, I want those to stay dirty. It's not really the standard dry brush technique where you wipe off practically all of the paint, I still leave enough on there to almost be painting on a second coat. The smoke wash really darkens all the colors and you now need to go back and brighten them back up so they aren't all some shade of brown.
I go over all of the surfaces again in the same order - light to dark.
Since these are small areas I sometimes do more stippling than actual dry brush swiping. This along with the first coat being thin helps add to the soft edge effect. At least I think it does. Judge for yourself.
Now details and decals.
These painted up relatively quickly and turned out pretty good.
Here's the finished product:
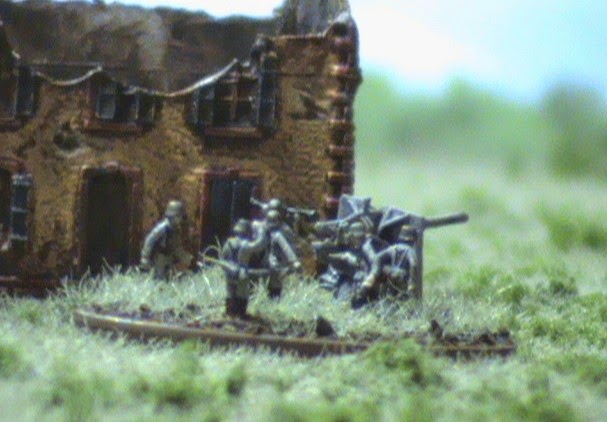
This last shot you get to see my bombed out shed too. At the same time I was doing these guys I was finishing up my German artillery stands.
I was planning, but forgot to put some pennies or a nickel in the shots to give you some idea of the scale of these things. I can tell you that my artillery stands are based on 1 1/4 inch washers. 1 inch was just too crowded.
So this circle is only 1.25" in diameter.
Now I've got to do the support vehicles for my Stugs and then decide which of the many projects is next.
Let me know what you think.

.JPG)


 Well it turned out pretty good. I'm happy with it. Now that that's out of the way back to other projects that I actually listed last month.


.JPG)
.JPG)