Chuck

Chuck

Sunday, April 27, 2014

213 Squadron details -- almost done

Finally finished up the black bits of camo and worked some on details. I cleaned up some edges and some messy spots.
 
Took them outside for a quick coat of gloss. Personally I don't like the gloss finish, and once they are finished they won't be gloss. To me gloss is only for surfaces that should look wet or maybe a shiny leather kinda look. But I've read on some modelling sites and the recommendations with a decal set I got for these suggested applying them to a gloss coat finish.
 
 
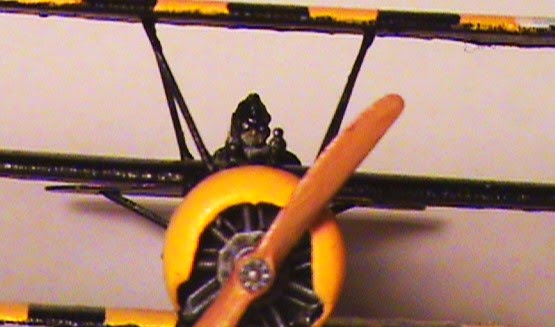
More shots of the details...
 
Webbing on the #1 plane's cowling.
I also added the flying & landing wires, and drilled out and inserted some gun barrels on all planes.
 
 
Next step is to put the top wing on, decals & undercarriage. After that, a shot of flat clear and decide if they need pilots.
 
So until next time, thanks for looking.


Monday, April 14, 2014

213 Squadron - the paint scheme


I finally got started on the painting!!!!! All parts were primed with Tamiya grey primer before assembly. The colors were put on in two thin coats except for the last one...more on that later.

I started off with light brown: Model Color Light Brown


Next, light green: Game Color Camouflage Green


Then comes dark brown: Model Color Flat Earth
 

If you were paying attention you will notice I also went back and added the light brown edge to the Bleriot scheme upper wings (the two on the left...how did I miss that?)

And things are going along smoothly until my dark green decides to act like an ink wash.


Game Color Dark Green. This had to go on in four coats. It just wouldn't mix in the bottle, don't know if it sat too long or what happened. It was fine painting some orcs around Christmas time.

I know these pictures aren't the best quality but it lets me get away with being a little sloppy on this stage. The next task will be black, details of the cockpit, struts, and clean up/touch ups.

Until next time here's Ernst Kessler


Tuesday, April 1, 2014

213 Squadron - back to work

Finally back to work on 213 Squadron. It's been a while since my last post because real life kind of got in the way, but I'm back at it.

I got the rigging on the struts done and now it's time to fill gaps and clean up other spots.


You can see I've got my work cut out for me.

I knew there was going to be a lot of work but now that I'm at that point, this is kind of ridiculous.


I got out my Tamiya model putty and started slapping it on where I needed it.

Now that I've done it, maybe I should have gone with brown stuff or green stuff. I had a real tough time with the putty. I had used it before on a 1/48 F-18 to fill in gaps and it worked okay.


This time I had trouble with it drying out and crumbling before I could get it in place; note the chunks around the exhaust pipes.


So after a lot more work than I anticipated, the gaps are filled, extra putty trimmed & sanded off, and they are ready for the next step...LET'S PAINT!!


Underside first. Yellow or gray...I went with Reaper's Golden Highlight from their skintone triad.

Next, pick the colors and start on the top. So until my next post.....

Thanks for stopping by.