Chuck

Chuck

Sunday, January 31, 2021

It's a New Year

 Well here we are in a new year. Hope everyone survived what was 2020 with your sanity intact.

If anything it has given me more time to spend on the hobby. And I've been a little more motivated to get some things done. What else ya gonna do stuck at home?

I haven't done much picture taking of the projects, I've been focused on doing the projects. I need to be more vigilant on that. I do have a stash of pictures taken earlier last fall of already completed minis to get things rolling for this year.


I got this guy a long time ago. He went missing for a little while - more than a year - maybe 7. Then he was found in mini-me's Lego box. How did he get in there? Only he knows - but he did get painted this past summer so he can now join his friends:

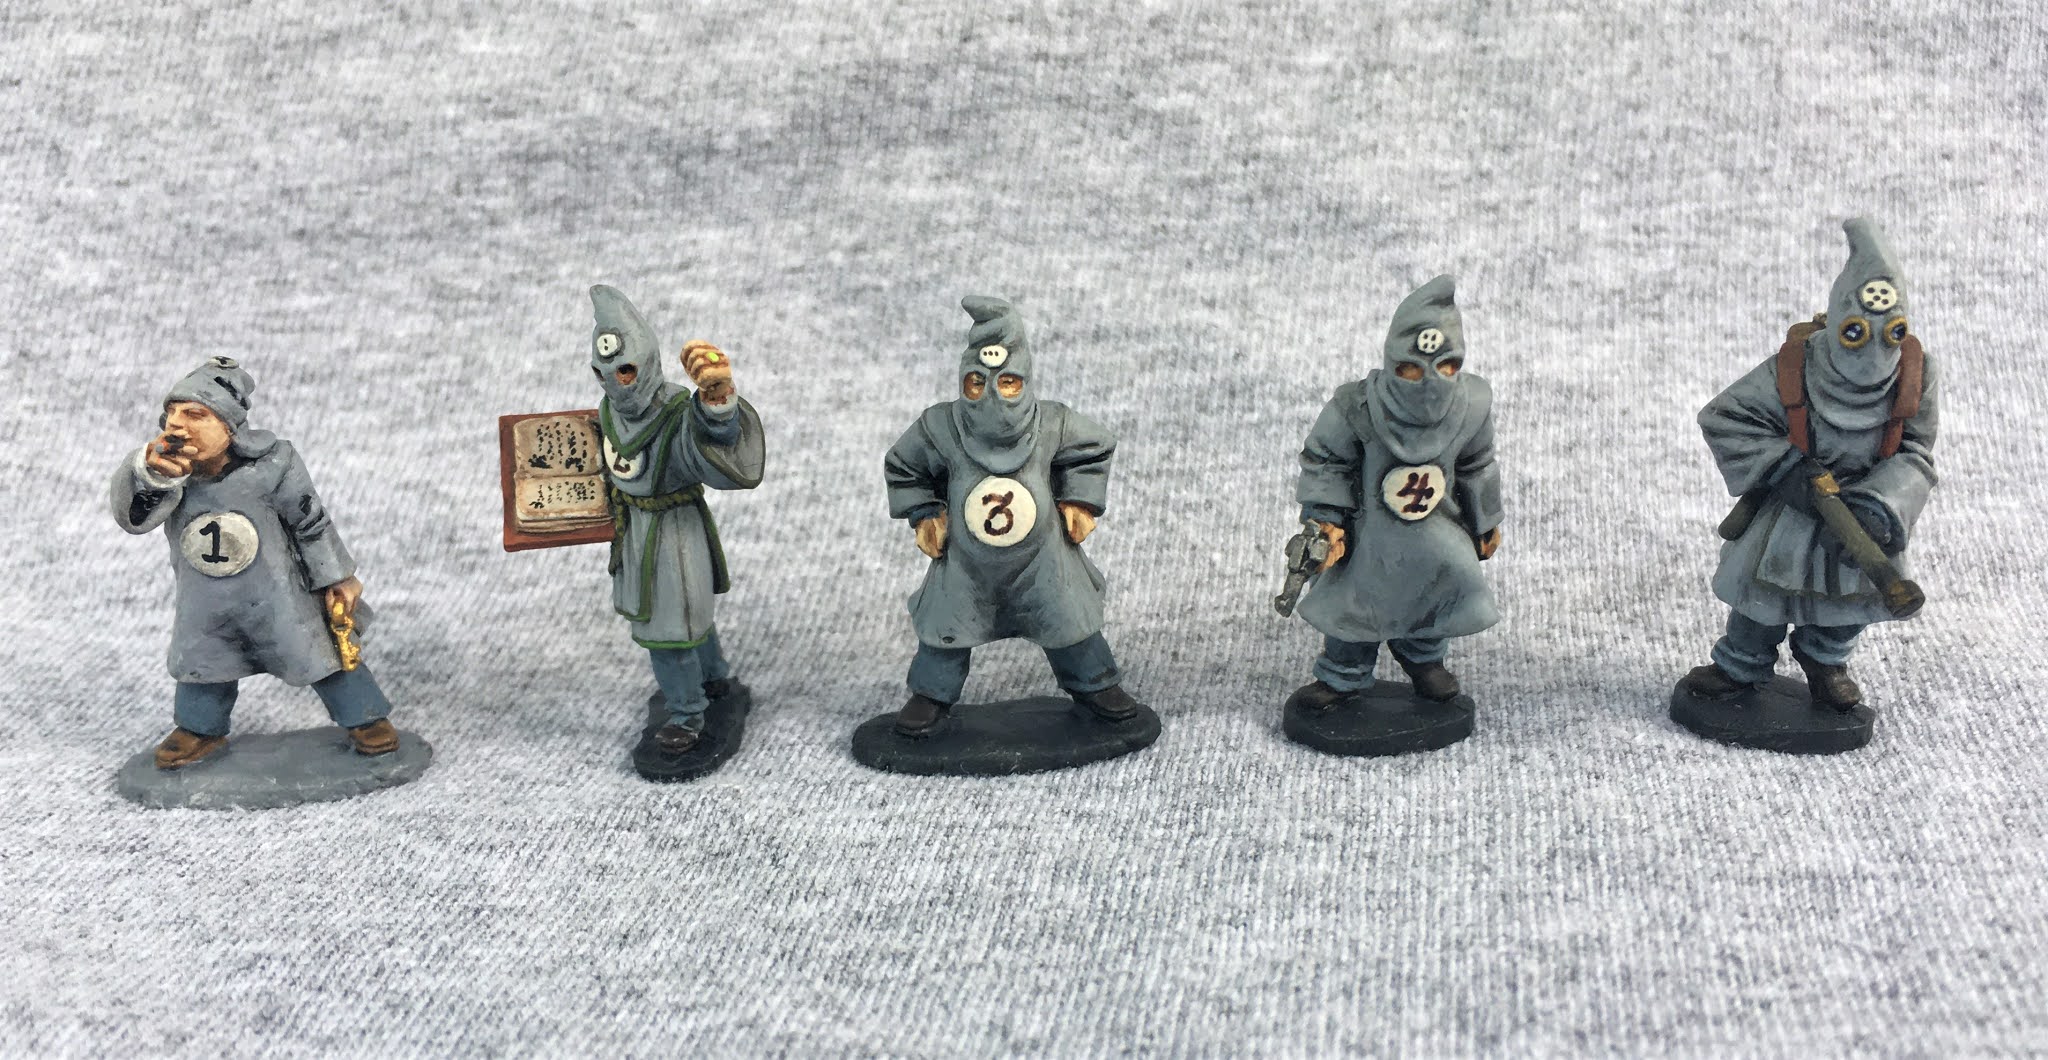
The rest of his crew were all painted up at least 5 years ago. I really need to start marking my minis on when I get them completed. Then maybe I can gauge and see if any of my painting techniques and such improve. Not likely but it may be neat to compare some. In this case I was trying to match #1 up with the rest so that they go together for reals.
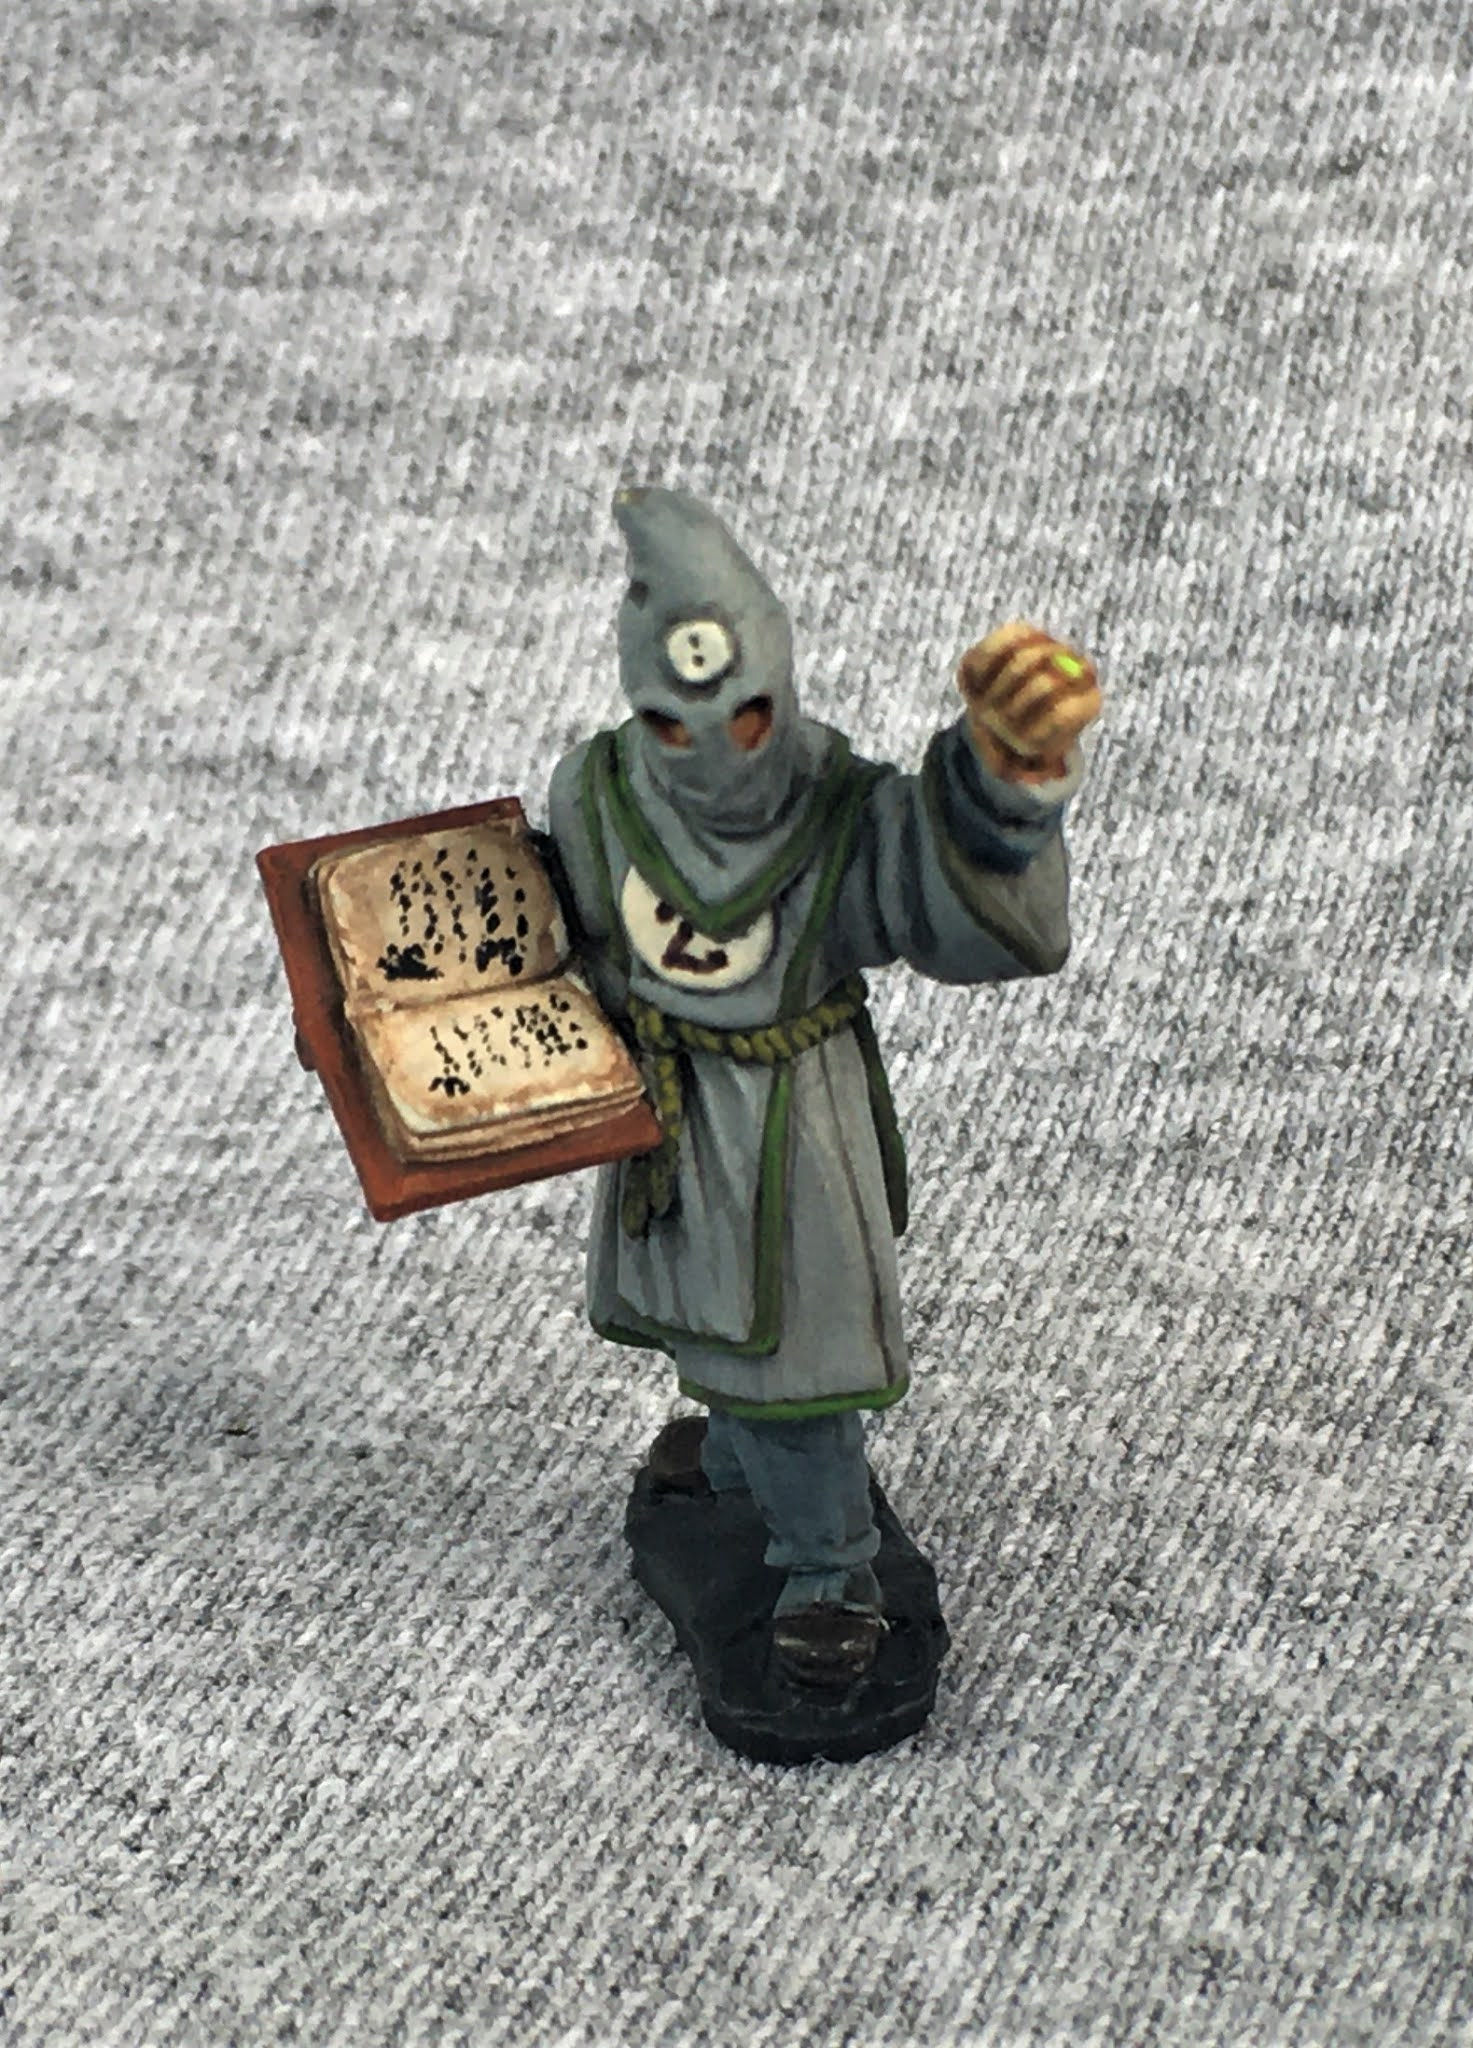
#2 cultist is really cool. I did some free hand scribbles in his tome that from a distance don't appear all that bad. 

#3 obviously


and #4
And finally number #5
Being mainly D&D players, not real sure how I can work #4 & #5 into a game with guns and flamethrowers. They can still make good stand-ins anyway. I'm sure I can figure some way to get them on the table. 

Well that's my one of my cultist crews. 

I also painted up two not-Comissars to go with my not-Imperial Guard troops.
I can't remember where they came from. I do remember I was looking for other minis or something and they popped up in the ebay suggestions and I guess it was late and had already been working on a bottle of 19 Crimes which made it that much easier to Buy it Now.


MASK UP! IT'S A PANDEMIC!


And lastly I finished up a wolf pack that has been in my mountain of lead for a couple of years and had made one unpainted appearance in a game.


I really tried to get  a 'realistic' coloring on these instead of just some straight gray/blackwash/drybrush painting on them. Didn't turn out too bad for their small size - I think.
I still have a couple of larger dire wolves in the mountain of lead so we'll call this attempt practice.

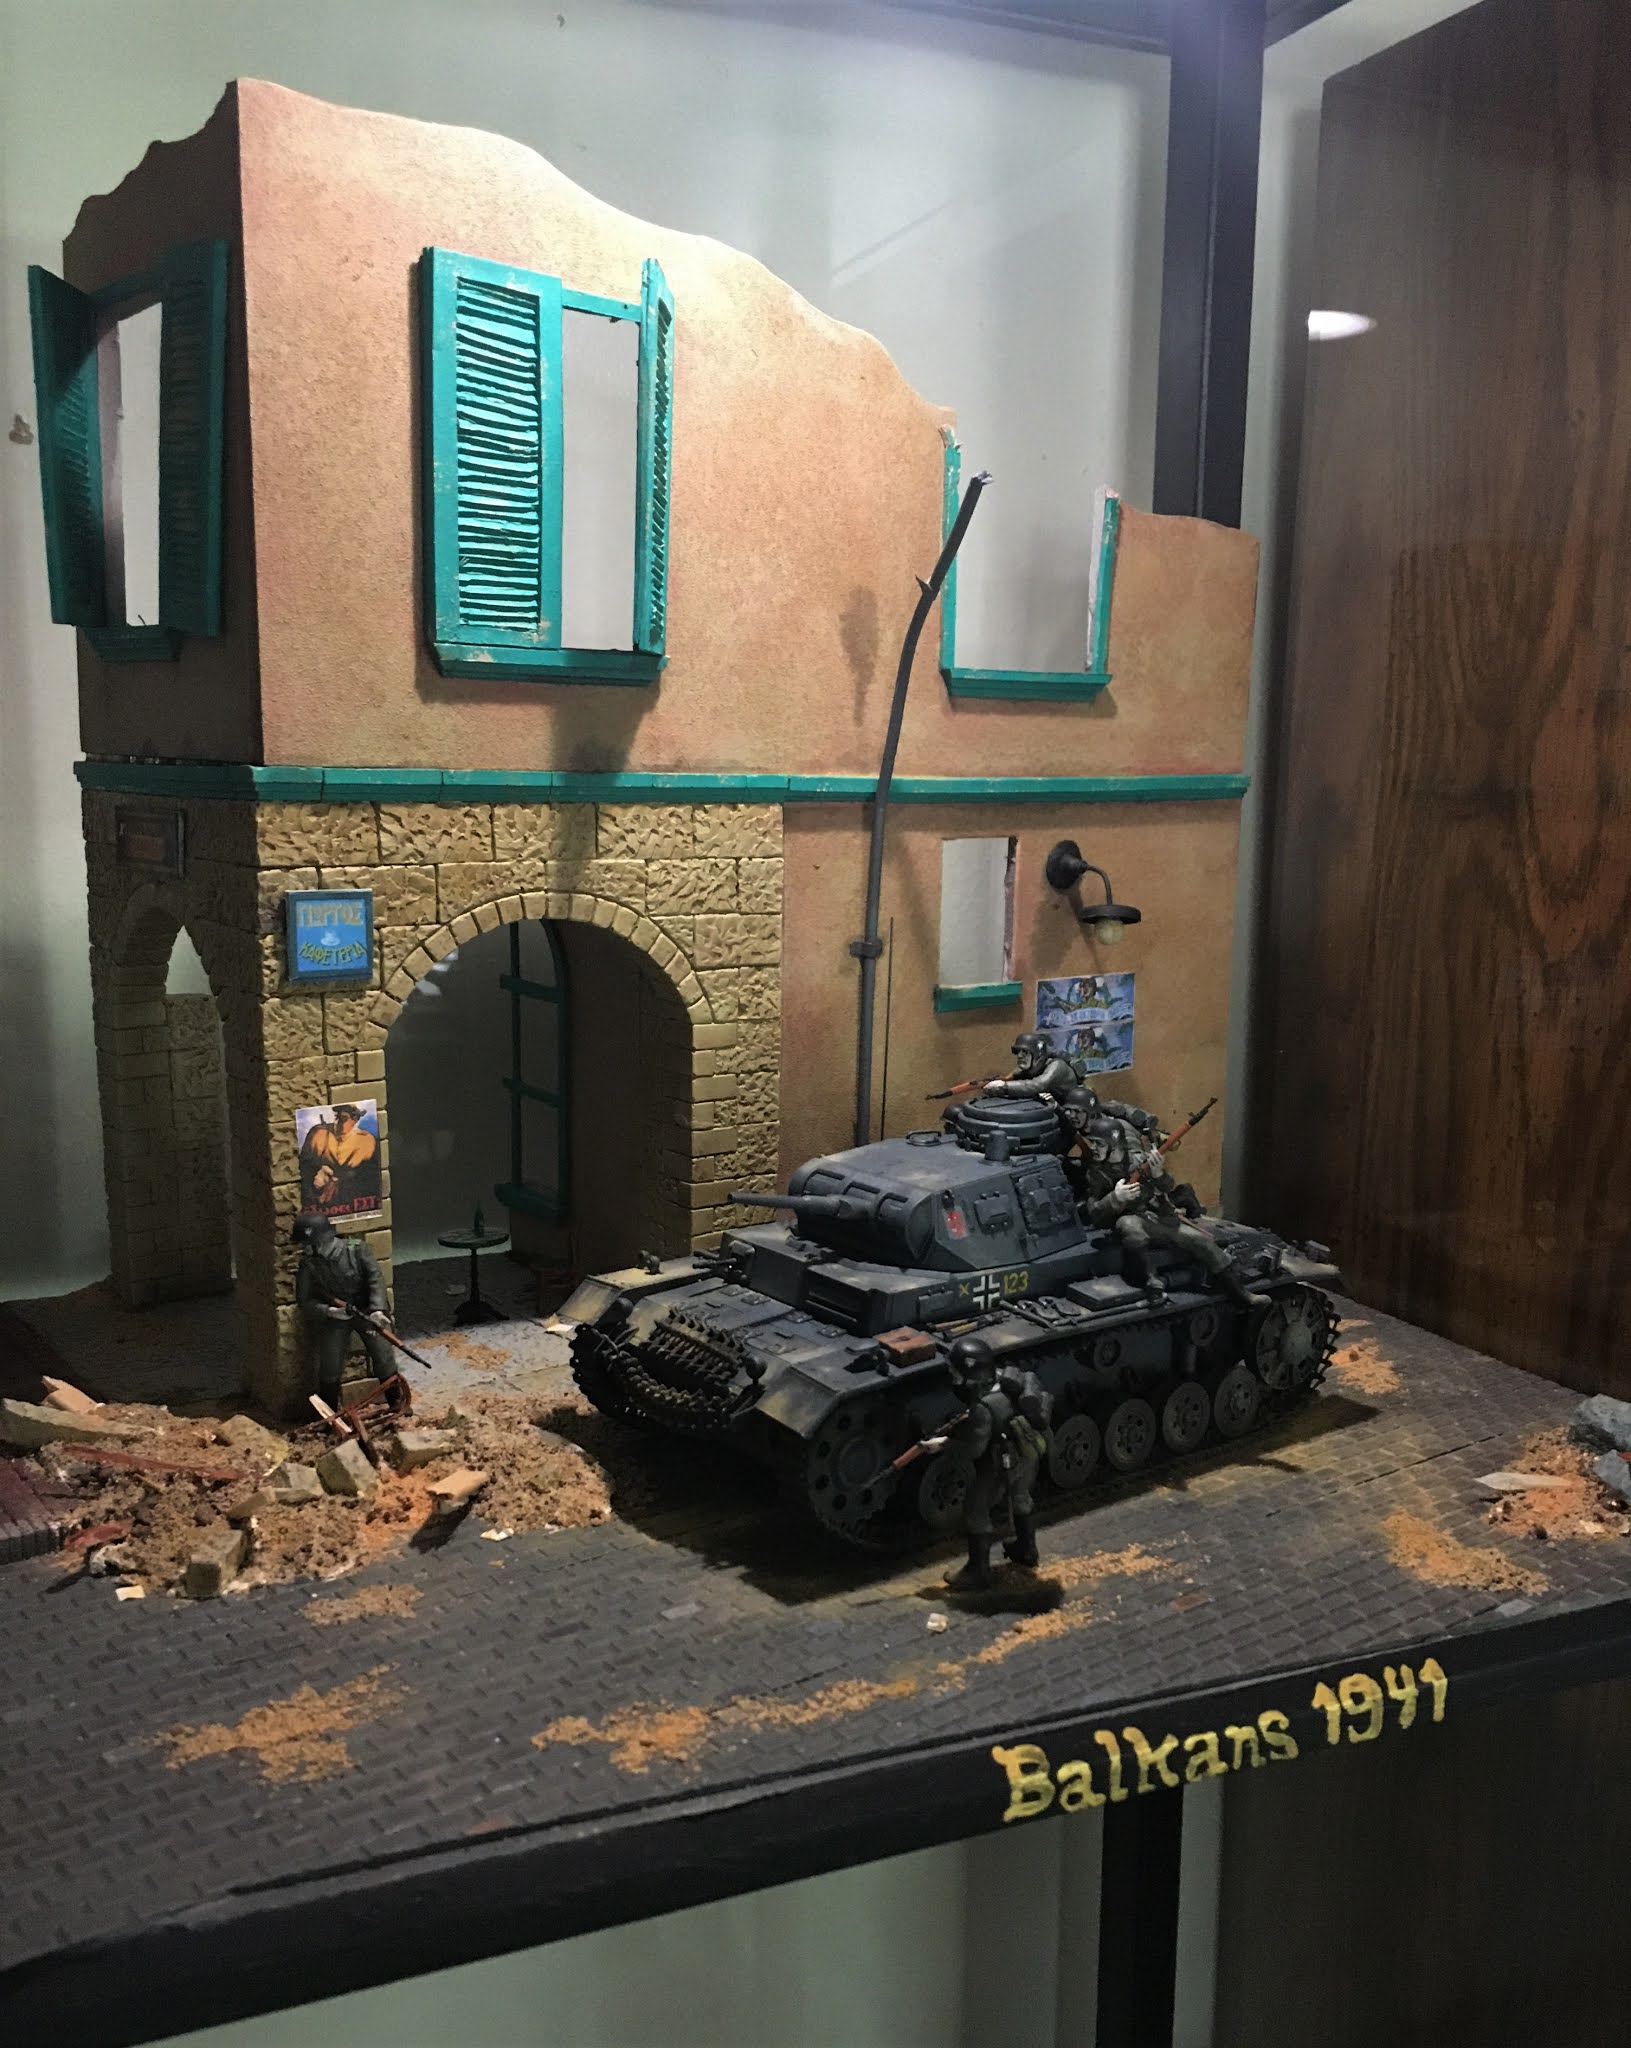
That's some of the stuff I did this summer. I've got more. I just need to take some pictures of the finished products. 

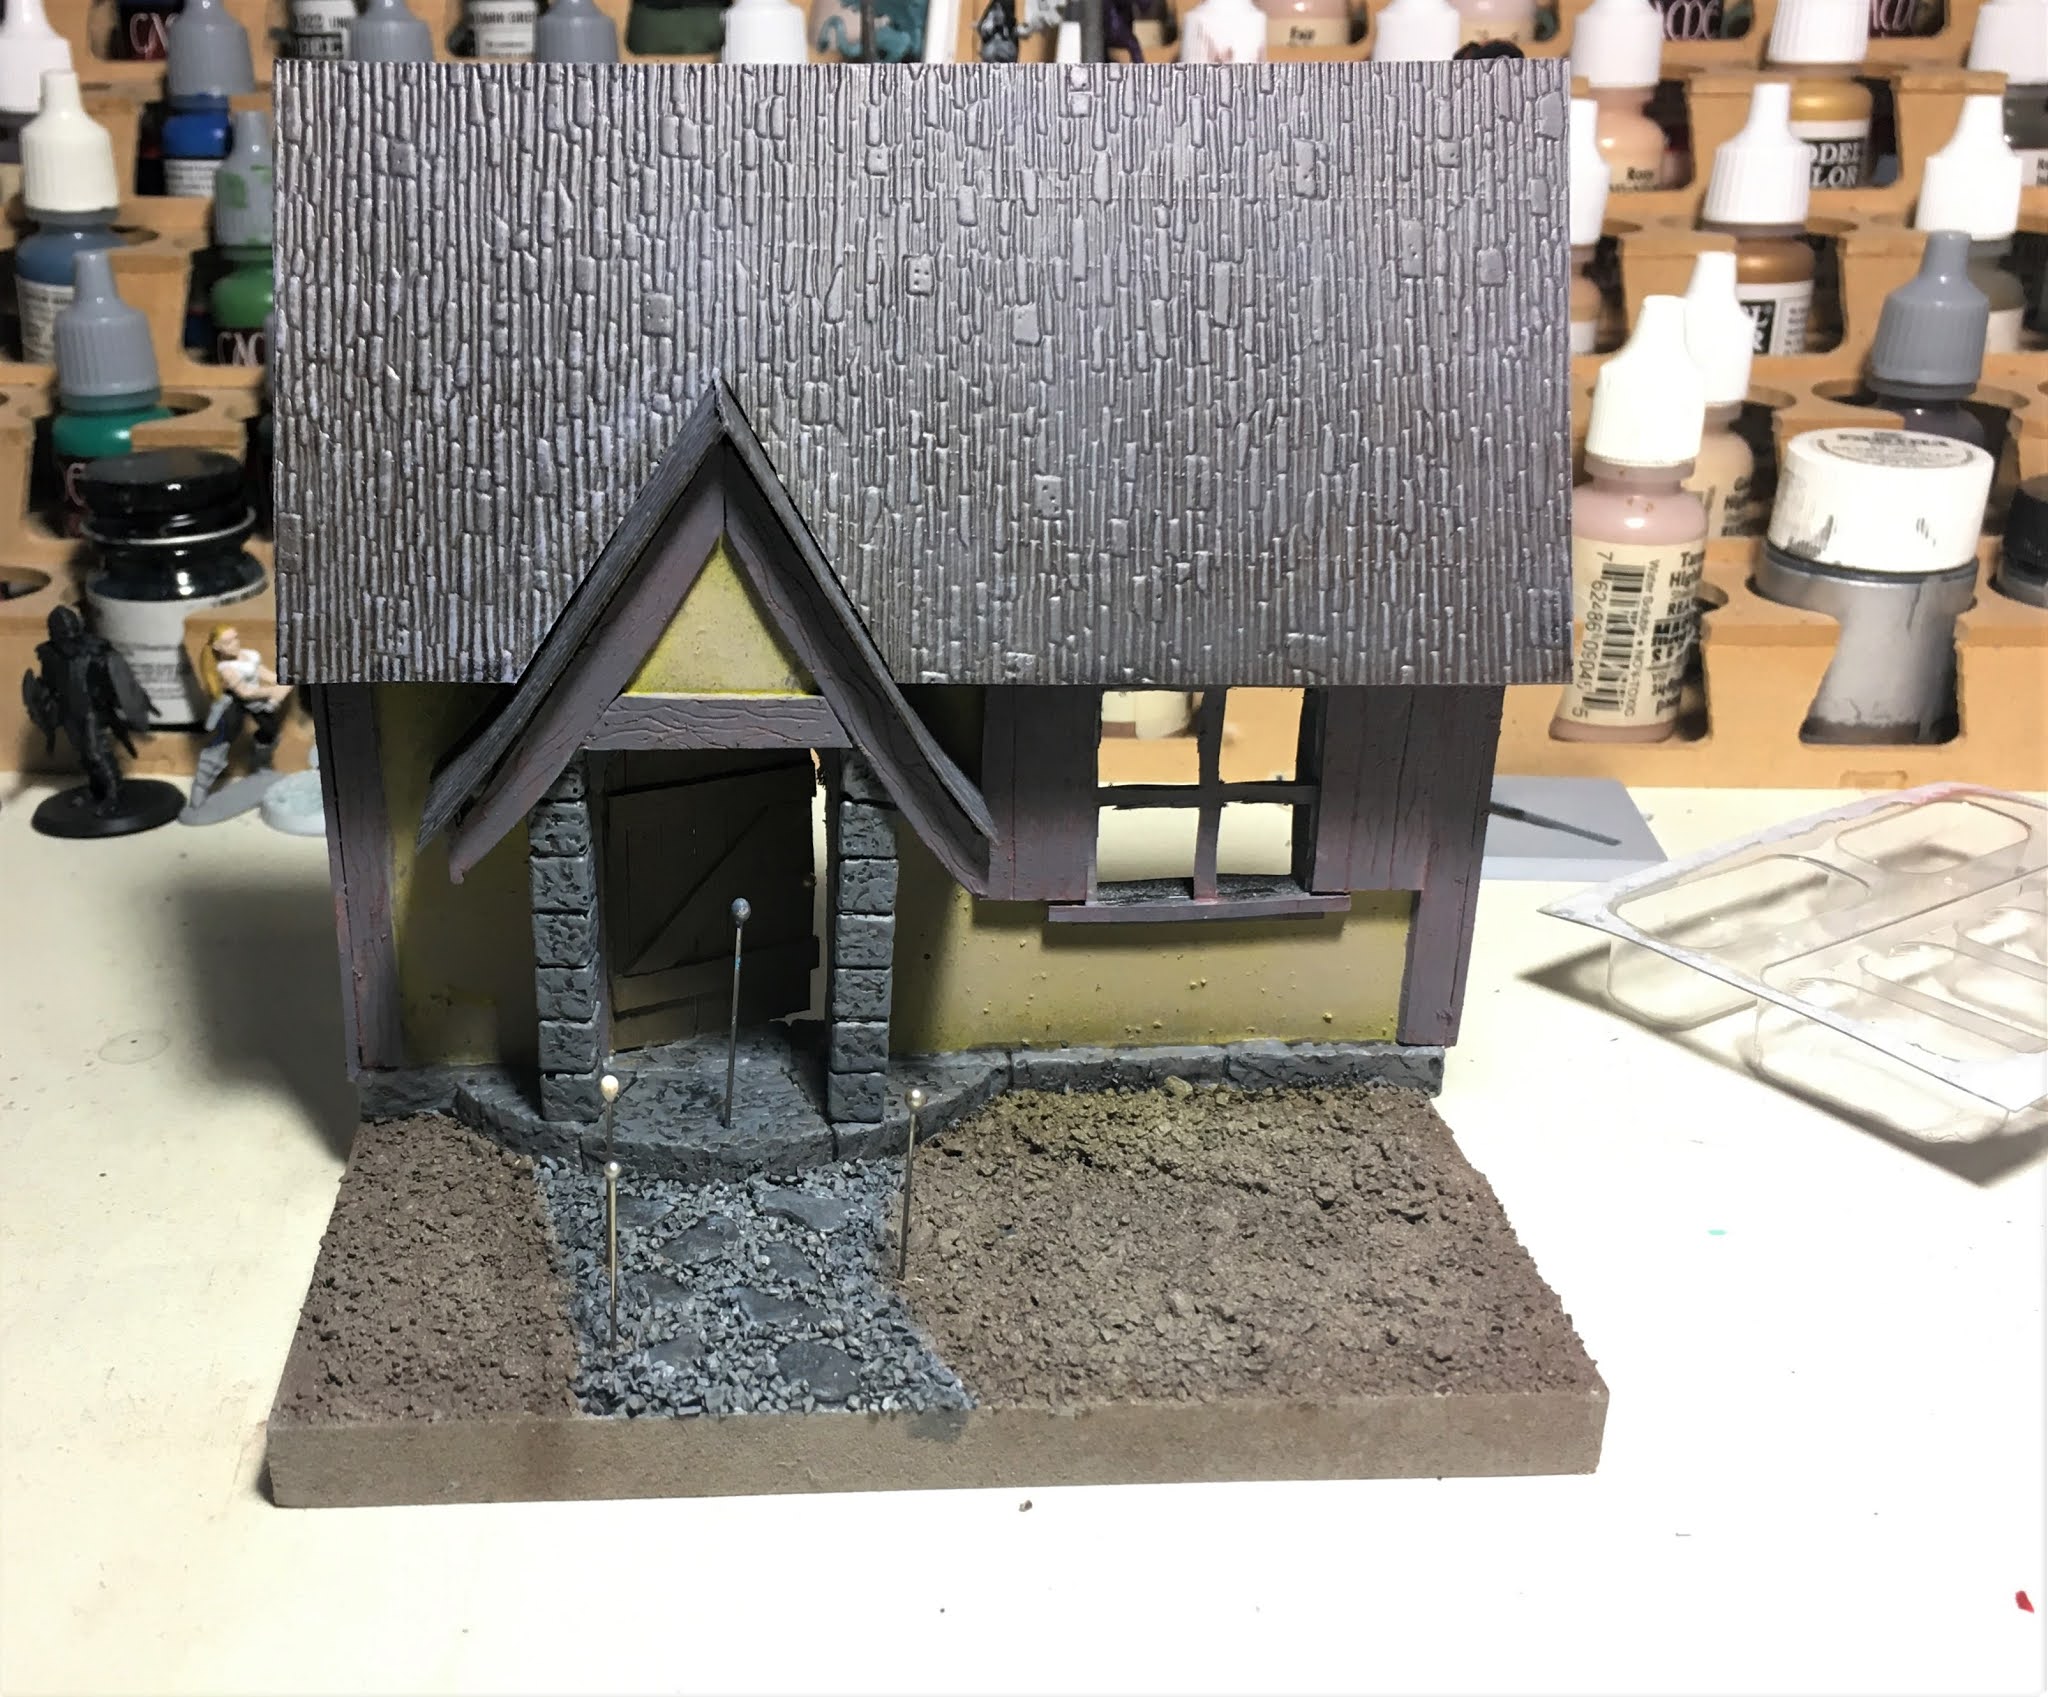
Until then here's a sneak peek at the WIP Apocalypse Scooby Gang I finally finished up this summer:
I know you've seen Fred and maybe some of the others waiting in the background on other posts.

Thanks for stopping by.

Have a safe, happy, healthy new year!
 

Saturday, October 31, 2020

Happy Halloween!


I finished up a new Halloween decoration!!!
I've had these figures for about two years. It was supposed to be a finished project for last year. But of course that didn't happen the way I planned. You may have seen some of the little guys on the work bench in other posts. 
I'm finally getting the base built.


For those interested....here's a few shots of the build.


Concept drawing for the cottage.


I made it out of foam core and matte board. Pretty simple. The hardest part was figuring out the angles for the roof and gable. I made an actual wood door with craft stix and the head of a push pin. The porch and gable supports are plaster bricks.


The base is some thick press board that came as packing material in our new TV earlier this summer. I have a few others which will come in handy in other projects. 

Save that packing material!!! Reuse!! Recycle!!

The roof was some textured, model railroad, styrene sheets.


Now for some landscaping using wall spackle for garden mounds, ground coffee and sand mix for dirt, and some natural stones.

Painted

Then add the foliage.
Cottage built, complete with a cat in the window, ready for the figures.

Thanks for stopping by.
Happy Halloween!

🎃🎃🎃🎃🎃🎃


Monday, September 7, 2020

The In-Betweens

 This post isn't a project per-se just a display of what's been going on in between projects.

This first bit happened during my Tale of Two Planes. Christmas happened during that project. My boss lady, being of Nordic descent, had recently come back from a trip to Norway and brought us all little gifts. One night I'm browsing miniatures and think, Hey, she might like a valkyrie. So this happened.

It also gave me a chance to try out some snow basing. She's a big Broncos fan so I tried to come up with an orange & blue motif with the shield emblem.
And I couldn't ignore her husband, great guy, so he got one too.


Made a pretty good matched pair. 

Merry Christmas!


************************************************

Well this got me on a Viking path of thinking and my YouTube browsing popped up some longboat construction so I tried my hand at that.


I started with cutting out foam core board for main deck and marked it off. Then using the thinnest coffee stirrer sticks I could find and some square balsa dowels I put the wooden deck down.

Trimmed it up nice and neat and got ready for the sides. Here's where the matte board came from. This is the same stuff I used for the shutters in the Panzer III diorama. (I originally got it for this project.)


The idea was to measure and cut out and assemble the sides and then they would just slip over the deck nice and easy. Needless to say it wasn't that easy.


I drew the planks out on the board then cut each one out and glued them all together with a slight overlap on each one. Made it look almost realistic with each individual strip instead of drawing/painting the separate plank lines.
I managed to get it to fit with minimal additional cutting on the deck, but it wasn't easy.


The toughest part was getting the prow and stern to come out. Tacky glue and clothes pins stuck it all together. Then a good, thick couple of coats of decoupage to fill in gaps and give it some strength and it was time to work on the mast head.


This process all came from a YouTube video I watched. I can't remember the exact link but I'm sure it will pop up if you search. There are several out there. Anyway the way it's constructed I can make several mast heads and sails and by mixing and matching I can have several different ships.

I came up with several ideas and decided I was just going to build two of them for now.

AND this is how it turned out:


I googled Viking shield and found a bunch of files out there. So I selected a few, resized them and cut them out. Then added a dollop of hot glue for the center boss, as suggested in the video.

Also the only material I had at the time was this plaid pattern so that's what it got. The dragon symbol on the sail is another version of my own design. You might recognize it from my Elric figure several posts ago.

But that's not all my in-betweens. I have more but I'll save them for the next post.

Leave some nice comments if you like. 
Thanks for stopping by.


Sunday, August 23, 2020

PZ. III pt. III Finished Project

 So we looked at all the build and now it's time for finishing and putting it all together.

As mentioned in the previous posts, the arch and sidewalks are cast plaster bricks using Hirstarts molds. The walls are made out of foam core board. I made the building trim, window frames and sills, and the shutters out of matte board; the kind used in picture framing. The street stones are some rubber craft rolls that have been painted. 

A word about the shutters, they were pretty tedious. I cut out and glued each individual slat between two cut out frames. I think they look really good though and glad I did it that way. The drain pipe is just a piece of sprue from the tank kit with some plasticard pieces for the brackets. The lamp turned out pretty good for being a half a tire from an airplane model, a costume bead, and a piece of copper wire from an Easter egg dyeing kit.

But we're not finished yet, lots more dressing to do....

I found some Greek poster thumbnails on the web to use for (of course) posters and the cafe signs. I used wall spackle to buildup my rubble piles. I wasn't too sure how that would work out but I like it. I will definitely be using that again for stuff. Add some more broken plaster bricks, broken stir sticks and tooth picks, some other weathering here and there and IT'S DONE!!


I also broke down and ordered a cafe set (tables and chairs) instead of trying to make some from scratch. I thought about it. The set also came with some bottles and true to form I put one on the sidewalk behind the tank so you will only see it in the above pic or if you see it in person. Always doing work and details no one will likely ever see.

The base on this is a little too big to go on any regular shelf and as I may have mentioned before I'm a little limited on space. So I found a place in the house and bought a new cabinet. (and I can fill it with more stuff! 😁)

Just a few more photos of it in the case to finish this off....


You may have noticed I re-arranged the figure placement from my original plan. 

This guy made it look a little better being away from the tank and this is one of my favorite photos just by the way it turned out. You can see someone was having a drink before the Germans arrived. And you get a better look at one of the rubble piles.


So that's it.

Let me know what you think and I'll have more up soon.

Thanks for stopping by.