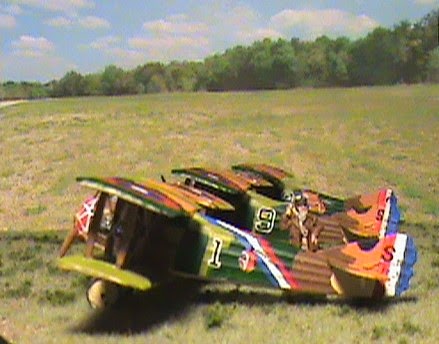
When I started I honestly didn't think it would take 5 months to finish.
Working on the finishing touches, I got the undercarriages on, added the final wires of rigging and was ready for decals...
The roundels went on just fine. The numbers (1 & 6) came in two parts. Whose brilliant idea was that? It was a large white decal and a smaller black decal so the result would be a decal on decal black number with a white border. Really?
 |
| Of course you have to get it lined up perfectly. |
 |
| This 9 came out okay, luckily the indian heads all came out great! |
 |
| Actually the 1 was only the black and the outline was done by hand. Also I had to hand paint the stripes as the decal was shredded beyond use. (each one from all three decal sets!) |
 |
| Just to prove I didn't shortcut & finished the bottoms and well. |
So what have I learned from all of this?
- Go ahead and spend the money on a good model kit.
- Don't do more than two at one time. In my life it's very hard to block enough time to get a step done on four models in one sitting; two - chances are good, three - possibly, four - very difficult.
- 1/72 WW I pilots are virtually unavailable. I found the one kit that's out there - only half are in cockpit positions and/or dressed for flying, and some pre-painted ones on e-bay but they were way too expensive.
- Go with products you know, i.e. Gorilla Glue, as opposed to trying something different just to see how it works.
Well that's it! Hope you enjoyed following this build. Leave me some comments.

.JPG)


very nice painting. I am usually not all that much into plane, but they have something "springery". Like them!
ReplyDeleteThey look really authentic Brian. Very well done. Your grandfather and I used to do this a lot. I believe I told you about the flyable P-51 Mustang Flying Tiger that we built. Long story.
ReplyDeleteDad.