
What project? you ask....

Let's dive right in to the build. It wasn't all that difficult a model. Flash and vent marks (or whatever the technical term for it is) were quite common though. It made some of the pieces hard to identify.


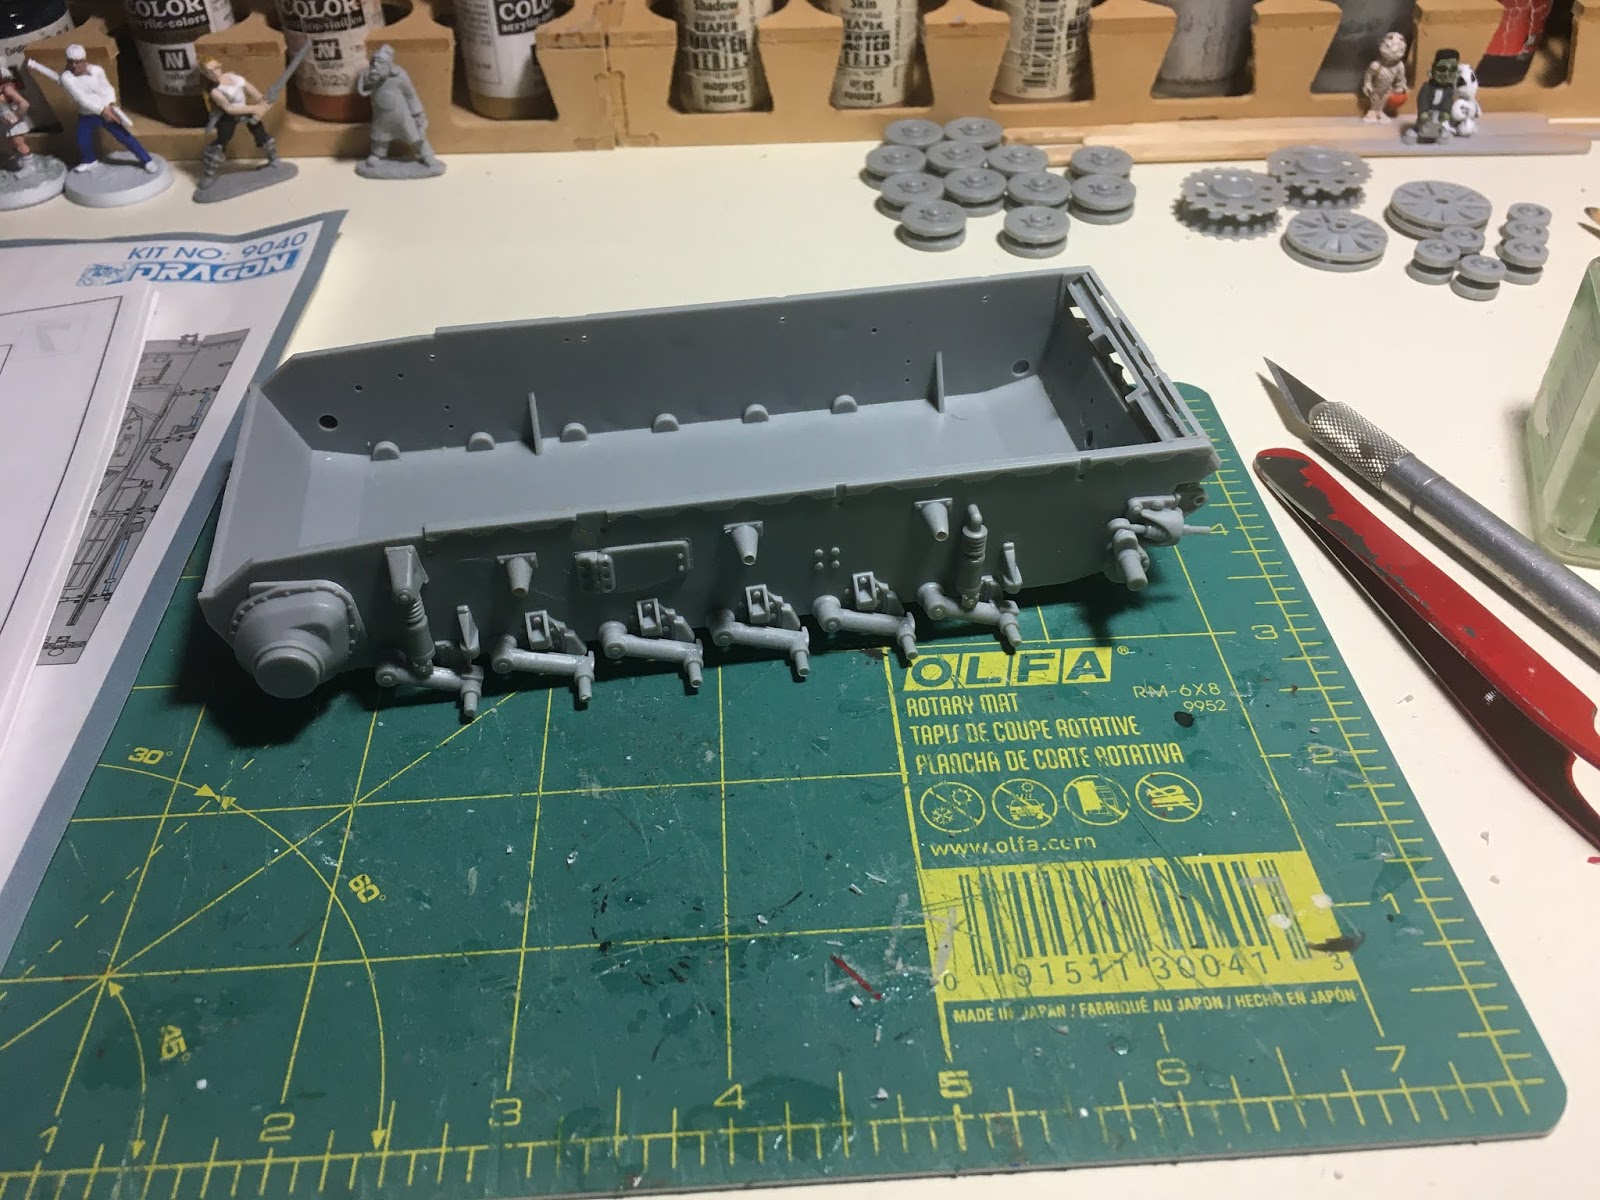
Here's just one example. There was lots of clean up but with a sharp blade and a fine sanding stick it didn't slow me down much.
It also came with a TON of extra parts. There was one sprue that I think only two pieces were needed. I ended up with practically a whole second turret in the spare parts!
Assembly was pretty straight forward. Here's the hull and wheels in the background...
...the upper deck and fenders...


...and finally the turret and gun.

This next part really scared me. Dragon Tracks! I had never encountered these before. Of course I had seen them and knew some kits were made this way but I had never assembled tracks one individual link at a time before.


You can see in the upper right where I got it in to two pieces for one side. I ended up really liking these much better than the single rubber piece you find in some kits. I think you can get a better fit with these and to me it was a lot less frustration. Plus it holds shape and you can make it look more weighty before you get it on the model.
Next we're on to painting. I've been watching all kinds of YouTube stuff and found Panzermeister36. He's got some really good weathering tutorials. He does lots of German armor. His vids are really easy to watch and I like his attitude and presentation. He explains things really well and has some really good end products.

So I took his advice and primed it all in black.
Then using his recipe for panzer grey I got a very good result. Thanks Panzermeister36!


Next post I'll show you the rest.
Thanks for stopping by.
No comments:
Post a Comment